DIY Textured Ornament Craft: A Fun (and Messy) Holiday Project
I recently hosted a fun women’s craft night, and this ornament project was a huge hit! It’s easy, creative, and a little bit messy—but that’s part of the charm. Just a heads-up: this project can get a bit powdery, so it’s best to work in an area where cleanup isn’t a big concern.
(P.S. – If your house looks like a snowstorm hit it by the end of this project… well, let’s just say you’re not alone. Crafting mess = the real holiday spirit, right?)
Step 1: Prep Your Ornaments
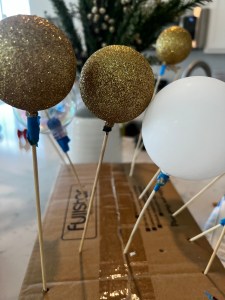
Grab any ornaments you have lying around—old ones you no longer love, or a pack of new ones from the store (preferably with a mix of sizes). The variety in size makes for more interesting results! Take the caps off the ornaments and carefully attach them to skewers. Secure each ornament in place with a bit of painter’s tape to prevent wobbling. Trust me, you’ll want them to stay still while you paint!
Step 2: Apply the Base Coat
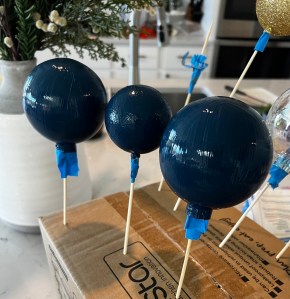
Now it’s time to paint your ornaments. Apply a base layer of paint, making sure to cover the entire surface (though don’t stress if it’s not perfect). Once painted, stick the skewer into a box or something to hold the ornament upright and allow it to dry completely.
Step 3: Add the Second Coat & Texture
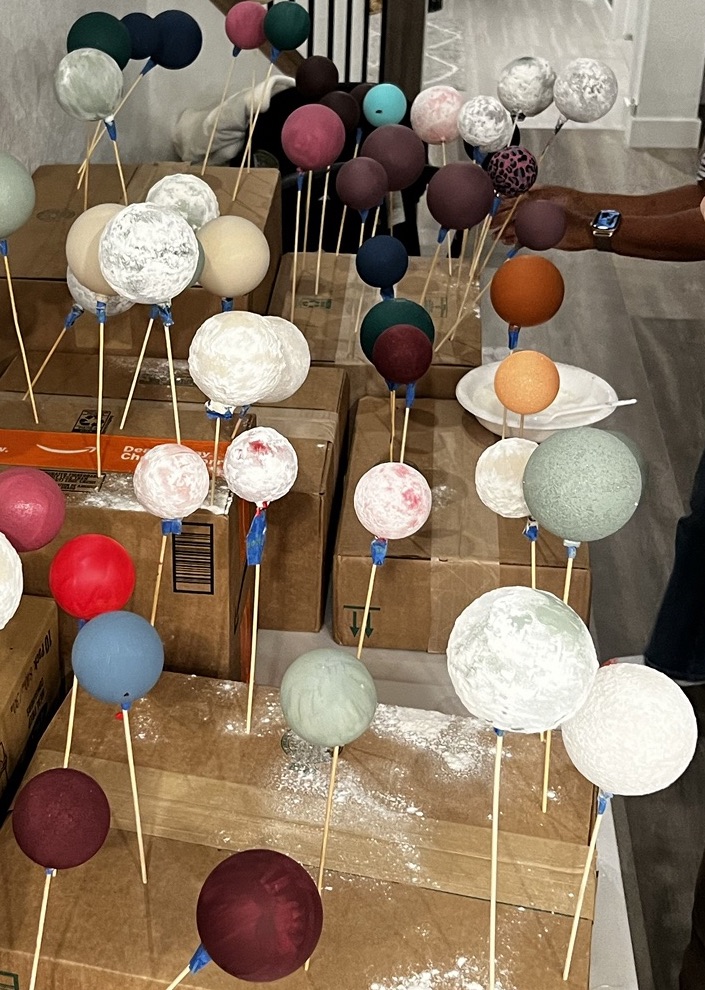
Once the base coat is dry, apply a second layer of paint. While the paint is still wet, dump on your flour and baking soda mixture to create a snowy, textured effect. Let the ornament dry completely before moving to the next step.
Step 4: Finish and Add the Details
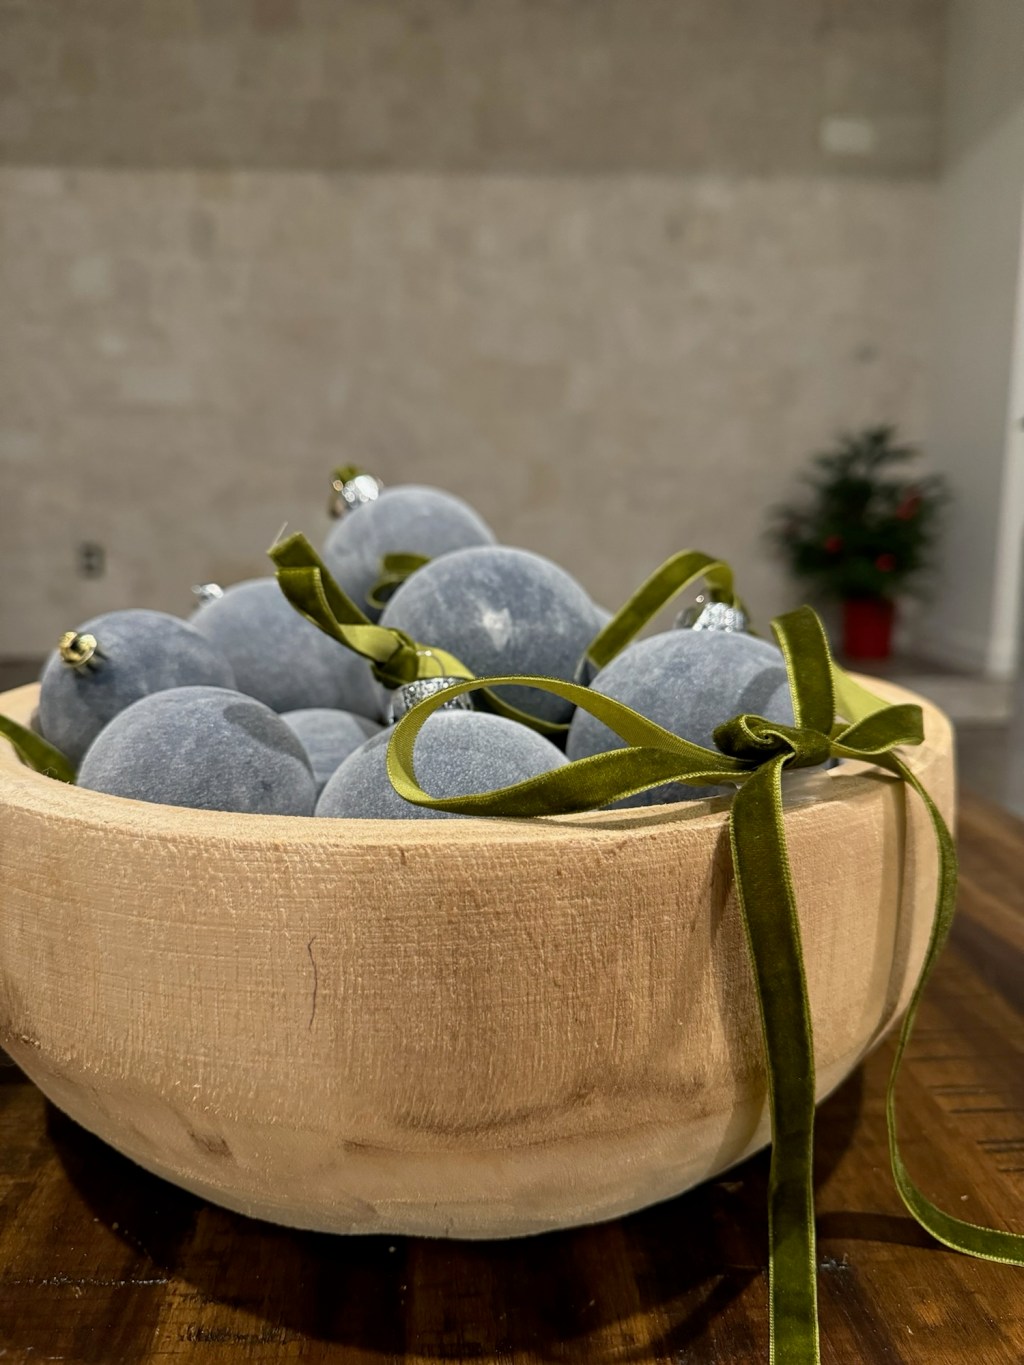
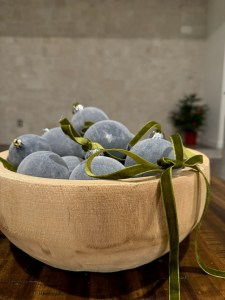
Once your ornaments are fully dry, take a soft brush and gently dust off the excess powder for a frosty finish. Reattach the ornament cap and add a ribbon for a finishing touch. And there you have it— easy peasy.
Normally, I love crafting solo—it’s my time to unwind and think. But this time, I had little helpers who were eager to get involved. So, perfectionism went out the window, and I had to embrace the powdery mess that came with it (a little extra cleanup never hurt anyone, right?). It turned out to be a fun.
Supplies List:
- Paper Bowl/plate
- Paint Brushes for Paint
- Paint Brushes for dusting off mixture
- Ornaments (any kind/color, old or new, and different sizes is good)
- Skewers
- Painters tape
- Acrylic Paint (Blues/Greens, Pinks/Browns, Navy)
- Ribbon (We used the velvet ribbon here)
- Baking Soda & Flour mixture (about 50/50)
If you end up making these, let me know! I’d love to see how you used them as decor and/or if you hung them on your tree!
With Love – Chloe

Leave a comment